
When Black Forest Labs launched FLUX.1 Kontext in early June, it sent a shockwave through the AI art community. The reason for the excitement was clear: this was a revolutionary new model for image editing. Think of it as a direct competitor to the multimodal capabilities of giants like GPT-4, but built from the ground up with a laser focus on visual context and control. But there was a catch—initially, this game-changing tool was only accessible through an API, leaving many creators and developers eager to get their hands on it.
Well, that wait is finally over. The FLUX Kontext dev model is now officially open-source, allowing anyone to run this groundbreaking technology locally.
This guide is your definitive, one-stop resource for getting FLUX.1 Kontext up and running in ComfyUI. We'll take you from the initial installation all the way to mastering its powerful native workflow, so you can start creating faster and smarter today.
Core Capabilities of FLUX.1 Kontext
With the open-source release of FLUX.1 Kontext, users can now directly leverage its core features. While its capabilities have been discussed previously, this section provides a formal overview of the primary functions now accessible for local implementation.
- High-Speed Generation and Editing: Built on a flow-matching architecture, FLUX Kontext offers significantly increased processing speeds compared to many diffusion-based models. This efficiency reduces the time required for both initial image generation and subsequent iterative edits.
- Advanced Prompt Adherence: Leveraging a dual-text encoder system, the model demonstrates a high degree of fidelity when interpreting complex text prompts. This allows users to execute nuanced changes involving style, composition, and specific object attributes with greater precision.
- Precise and Contextual Image Modification: The model is optimized for essential editing tasks, including inpainting, outpainting, and general instruction-based modifications. It is designed to alter specific regions of an image while maintaining the structural and textural integrity of the surrounding, unedited areas.
- High Character and Object Consistency: A key function of FLUX Kontext is its ability to maintain the visual identity of subjects and objects across multiple generations or edits. This capability minimizes unintended alterations to key features, addressing a common challenge in generative workflows.
- Open-Source Availability and Licensing: The dev model is distributed under the FLUX.1 Non-Commercial License, which permits use for research, personal, and other non-commercial projects. This ensures broad accessibility for the community, while a separate license is available for commercial applications.
How to Install FLUX Kontext Native Workflow in ComfyUI
This section provides a step-by-step guide to installing and running the Flux Kontext native workflow in your local ComfyUI instance. Following these instructions carefully will ensure a smooth setup.
Step 1: Pre-flight Check & Update ComfyUI
Before proceeding, it is critical to update your ComfyUI installation to the latest version (V0.3.42). The nodes required to run FLUX.1 Kontext are new and will not be present in older builds.
For users running a local installation, you must update to the latest version:
- If you use the portable version, run the update/update_comfyui.bat file.
- If you installed via git, run git pull in your ComfyUI directory.
Alternatively, for a setup-free online experience, services like MimicPC now provide pre-installed ComfyUI instances directly in your browser. These are kept up to date, allowing you to bypass the local update process entirely.

While not strictly required for this workflow, having the ComfyUI Manager installed is recommended for any local setup to simplify future management.
Step 2: Download the Core Model Files
Next, you must download one of the official model checkpoint files. There are two versions available, depending on your system's hardware capabilities.
- Full Precision Model:
- File: flux1-kontext-dev.safetensors
- Size: Approximately 23.8 GB
- Use Case: Recommended for systems with 24GB of VRAM or more.
- FP8 Quantized Model (Optional):
- File: flux1-dev-kontext_fp8_scaled.safetensors
- Size: Approximately 11.9 GB
- Use Case: An excellent alternative for systems with lower VRAM (e.g., 12GB or 16GB).
Place your single chosen .safetensors file directly into the following directory: ComfyUI/models/checkpoints/
Note: You do not need to download separate text encoders or tokenizers. These dependencies are already included in the updated Flux Kontext ComfyUI nodes.
Step 3: Load and Run the Workflow
There are two primary workflows you can use from ComfyUI officially. The basic workflow is for editing a single image, while the grouped workflow is useful for combining two images before editing.
Option 1: Basic Workflow (Single Image)
- Load the Workflow: Drag the basic workflow file (a .json or PNG file) onto your ComfyUI canvas.

- Install Missing Nodes: If any nodes turn red, use the ComfyUI Manager to install what's missing, then restart ComfyUI.
- Set Up Your Models: Click on each loader node to select the correct file:
- Load Diffusion Model: Choose your main FLUX.1 model (like flux1-dev-kontext_fp8_scaled.safetensors).
- DualCLIP Load: Load the two text encoders: clip_l.safetensors and a T5 model (like t5xxl_fp16.safetensors).
- Load VAE: Select the ae.safetensors model.
If you're having trouble with the installation or just want to skip the setup, we have a ready-to-use version of this basic FLUX Kontext workflow.

Quick Tip: You might see a pop-up about missing nodes, but no need to worry! We've already installed everything for you. Feel free to click 'Dismiss' or 'Don't show this again'.

Try the Basic FLUX Kontext Workflow on MimicPC Now
Option 2: Grouped Workflow (Two Images)
This workflow uses a single group node to keep your canvas tidy and can stitch two images together.
- Load the Workflow: Drag the grouped workflow file onto your ComfyUI canvas.

- Configure the Nodes:
- Load VAE: Select the ae.safetensors model.
- Load Image (x2): Load your two separate images into the two Load Image nodes.
- Check Inside the Group: The other models are inside the main group node. Double-click it to ensure the correct FLUX.1 and CLIP models are selected within.
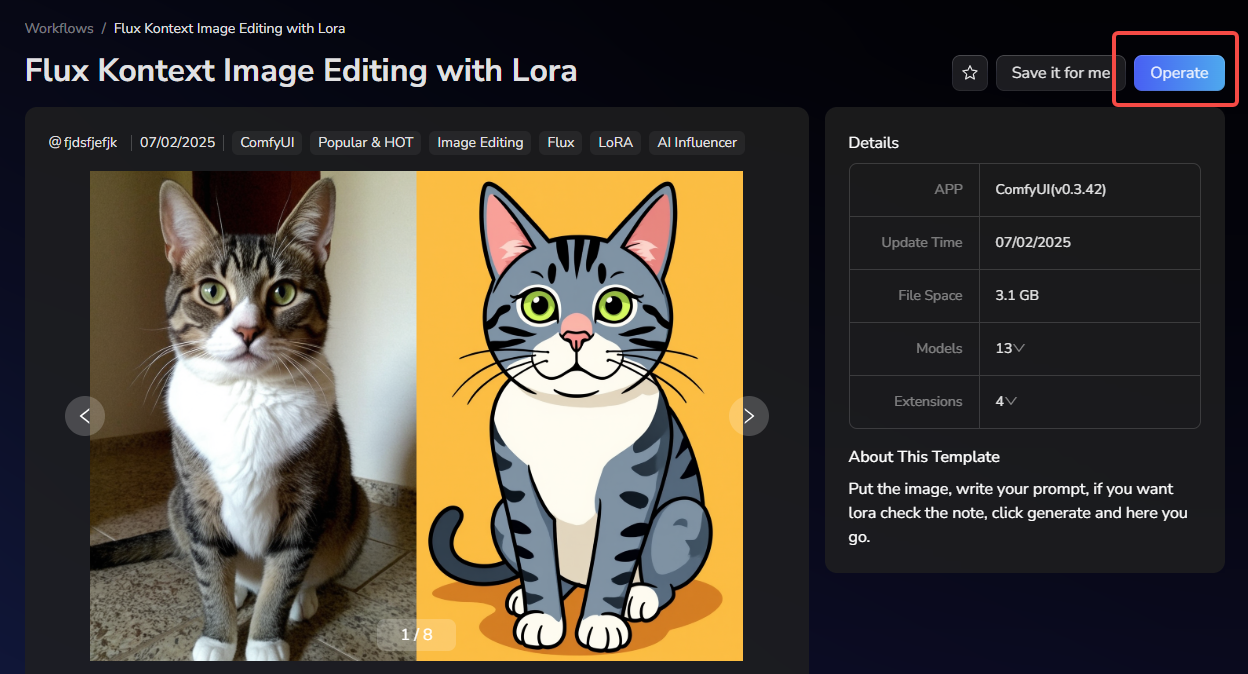
Option 3: Unlock Advanced Styles with a Pre-Configured LoRA Workflow
What if the standard workflows aren't giving you the exact artistic style you're looking for? If you feel the default options can't quite produce the specific look you want, you can try our ready-to-use FLUX Kontext Image Editing with LoRA workflow.
This advanced workflow comes pre-loaded with over a dozen popular LoRAs, specializing in creative styles. This allows you to instantly transform your images into styles like Ghibli, Pixel Art, or Realistic paintings without needing to find and install each LoRA yourself.
 Try the Advanced FLUX Kontext Workflow with LoRA
You are now ready to input your own prompts to guide the model. This is your opportunity to experience the impressive image editing capabilities of FLUX.1 Kontext firsthand.
Alternatively, if you are not familiar with ComfyUI or find the local installation process too complex, you can use our Flux Kontext outside of ComfyUI. For a ready-to-use version that requires no setup, please visit Flux Kontext Pro on MimicPC!

Advanced Prompting Techniques for FLUX.1 Kontext
To achieve the best results, it is important to understand how to structure your prompts for editing. The following techniques and templates will help you communicate your intent to the model with greater precision.
- Basic Modifications
For simple changes, a direct command is most effective. You can also instruct the model to preserve the overall aesthetic.
- Simple and Direct: "Change the leather jacket to a blue denim jacket."
- Maintain Style: "Turn the scene from sunny to rainy, but keep the impressionist painting style."
- Style Transfer
When applying a new artistic style, be as descriptive as possible.
- Name the Style Clearly: "Convert the image to a Ukiyo-e woodblock print style."
- Describe Key Characteristics: "Recreate the photo as a watercolor painting with soft edges and a wet-on-wet technique."
- Preserve the Composition: "Apply a Pop Art style, but keep the original composition and subject placement."
- Character Consistency
Maintaining a character's identity across edits requires specific language.
- Use Specific Descriptions: Instead of a vague pronoun like "him," use "the man with the grey beard and glasses."
- State What to Preserve: Add a clause like "while preserving his facial structure, glasses, and neutral expression."
- Modify in Steps: For major changes, first edit the background, then use that output to modify the character's clothing or pose in a second step.
- Text Editing
For modifying text within an image, use quotes and specify the desired format.
- Use Quotes for Clarity: "Replace the text on the sign from 'OPEN' to 'CLOSED'."
- Maintain the Format: "Replace the text and keep the original neon sign font and color."
Troubleshooting Common Problems
If your results are not what you expect, your prompt may be too ambiguous. Here is how to refine it.
- Problem: The character's face changes too much.
- Vague Prompt: "Turn the person into an astronaut."
- Better Prompt: "Change the person's clothes to a white NASA astronaut suit, but keep their face and hair the same."
- Problem: The subject's position or pose changes.
- Vague Prompt: "Put her on a city street."
- Better Prompt: "Change the background to a bustling Tokyo street at night, but keep the person in the exact same position, scale, and pose."
- Problem: The style is applied incorrectly.
- Vague Prompt: "Make it a mosaic."
- Better Prompt: "Recreate the image as a Roman-style mosaic, using small, distinct stone tiles and visible grout lines."
Core Principles of Effective Prompting
- Be Specific and Clear: Use precise, descriptive language. Avoid subjective terms like "better" or "cooler."
- Edit Step-by-Step: Break down complex modifications into a series of smaller, sequential prompts.
- State Preservation Explicitly: Clearly tell the model which elements of the image should not be changed.
- Choose Verbs Carefully: Prefer direct action verbs like "Change" or "Replace" over less specific ones like "Transform" or "Make."
Best Practice Templates
- Object Modification: "Change [the specific object] to [its new state], while keeping [the element to preserve] unchanged."
- Style Transfer: "Convert the image to [a specific art style], but maintain the [original composition/subject]."
- Background Replacement: "Replace the background with [a new, detailed background], ensuring the subject remains in the exact same position and pose."
- Text Editing: "Replace the text '[original text]' with '[new text]', and keep the original [font style/color]."
Conclusion
In conclusion, FLUX.1 Kontext represents a significant advancement in generative AI, shifting the focus from pure generation to the nuanced and precise editing of existing images. Its architecture is uniquely suited for tasks that require a high degree of fidelity, allowing users to make targeted changes while preserving critical details. The key to success lies in specific prompting, which enables the model to perform complex edits, such as altering a subject's clothing while maintaining the same facial features.
Whether you are performing a simple background swap or a complete artistic overhaul, the model uses your input as the primary reference image to ground its changes in the original context. For style modifications, your descriptive prompt acts as the style reference, guiding the transformation with impressive accuracy. By following the installation and prompting guidelines detailed here, you are now equipped to unlock the full creative potential of this powerful editing tool.
Frequently Asked Questions (FAQ)
Q1: What exactly is FLUX Kontext?
A: FLUX Kontext is a powerful, new open-source AI model designed for advanced image editing. It specializes in image-to-image tasks, allowing you to modify existing pictures with incredible precision, change styles, and maintain character consistency, all guided by simple text prompts.
Q2: Is FLUX Kontext open source?
A: Yes, absolutely. FLUX Kontext was released by Black Forest Labs as an open-source model. This means its architecture is publicly available, allowing the community to use, modify, and integrate it into tools like ComfyUI freely.
Q3: What are the minimum system requirements to run this in ComfyUI?
A: The most important requirement is your GPU's video memory (VRAM). You will need at least 12GB of VRAM to run the smaller, quantized model, and 24GB or more is recommended for the full-precision model. However, you don't need to worry about your hardware. You can run the latest version of ComfyUI online on MimicPC, which handles all the technical requirements for you.
Q4: My nodes are red after loading the workflow. How do I fix it?
A: A red node in ComfyUI means a required component is missing. The most common fix is to use the ComfyUI Manager: click the "Manager" button, then select "Install Missing Custom Nodes." Once the installation is complete, you must restart ComfyUI for the changes to take effect.
Q5: Is FLUX Kontext free? Can I use the images I create for commercial projects?
A: Yes, as an open-source model, FLUX Kontext is free to use. Regarding commercial use, you should always check the details of the specific model license. However, its open-source nature generally allows for broad usage, including commercial projects.
Q6: This installation seems too complicated for me. Is there an easier way?
A: Absolutely. If you are not comfortable with local installations or find the ComfyUI setup process challenging, you can use a pre-configured online version. Platforms like MimicPC offer a ready-to-use FLUX Kontext Pro editor that runs directly in your browser, with no setup required.
Q7: What are some common use cases for FLUX Kontext?
A: FLUX Kontext excels at a wide variety of image editing tasks. For example, you can use it for artistic style transfers (like converting a photo to a Ghibli-style painting), changing backgrounds, adding or removing objects, and ensuring a character looks consistent across multiple images. For a detailed look at these use cases and more, you can read our full article here: [FLUX Kontext: 15+ AI Image Editing Use Cases & Examples].